Configuring a Naked Domain
Question: What is a naked domain?
Answer: An Internet domain name without the "www" or any other subdomains. For example, reviewnprep.com is a naked domain but www.reviewnprep.com is not, because it contains the www subdomain.
Question: Why should I use a naked domain?
**Answer: **In many cases, end-users do not key in "www", when they bring up the website on the internet. For example entering reviewnprep.io and www.reviewnprep.io should both bring up the same website.
Below are the basic steps that are necessary for connecting a custom root domain to your ReviewNPrep school:
- Edit your domain's nameservers to change your DNS settings.
- Create a CNAME record that points your custom domain to your school.
- Check if the CNAME record is successfully added
Enter the domain name in your ReviewNPrep admin panel
Prerequisite is that you already own a domain from a domain registrar.
**Step#1: Edit your domain's nameservers **
While you can choose other services that are similar to Cloudflare, we recommend you sign up for their free account which will enable you to create the naked domain.
- Go to http://cloudflare.com and click the Sign Up link to create an account.
- Enter the domain name that you want to use for your ReviewNPrep school without "www". Click Add Site.
- Choose the FREE Cloudflare plan.
- Cloudflare will automatically scan your domain's DNS records and prompt you to review them. You do not have to make any changes here. Click Continue.
- You'll then be prompted to change your domain's name servers. Scroll down and copy the names of the two Cloudflare nameservers listed. Below is example on copying Cloudflare's nameservers and changing in GoDaddy's nameservers.
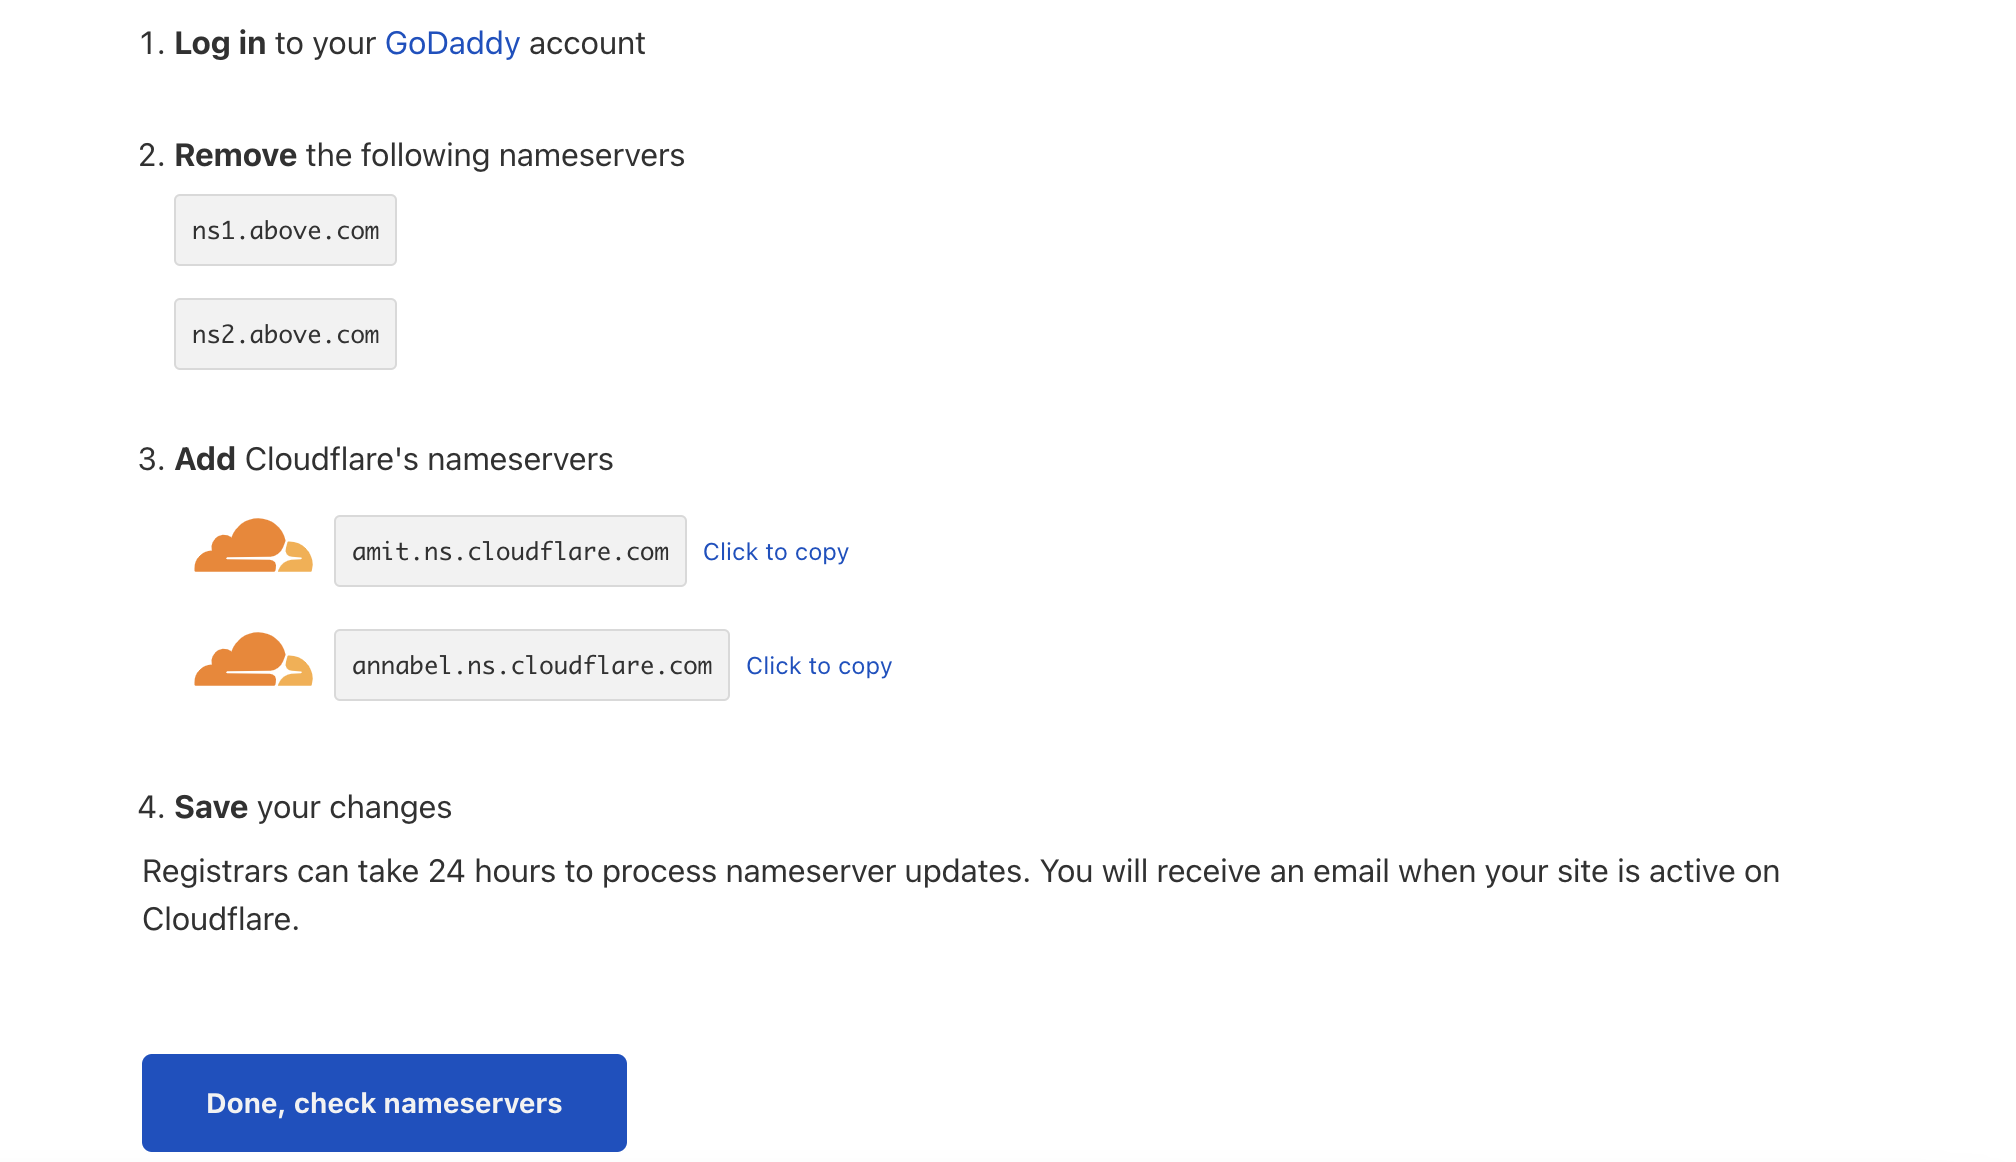
- Now you need to change your domain's nameservers and this process will differ depending on the domain provider you're using. For best practice please check the documentation of your respective domain provider.
Step#2: Create a CNAME record
Now we'll create CNAME records that point your custom domain to your ReviewNPrep school. If you are using a different provider because you chose to not use Cloudflare in the previous step, we recommend taking a look at that provider's help articles to see how you can set up CNAME records. This article documents the use of Cloudflare.
NOTE: Before deleting any DNS entry, please copy them for your own safekeeping. This might come in handy in case of troubleshooting if something doesn't work as expected.
- Log in to your Cloudflare account.
- In the menu, click DNS.
- If you have any 'A', 'AAAA', or 'CNAME' records listed, delete them.
- Click Add record and then change the record type to "CNAME".
- When configuring your custom domain, "www." is not included in the URL. This is because "www." is a subdomain of your root domain (e.g. "exampleschool.com"). To use both domains, you'll have to create 2 CNAME records—one for your root domain, and one for your domain with "www.".
- Create your first CNAME record. In the Name field, enter "www". In the Target field, enter your ReviewNPrep Sub-domain (e.g. yourschool.reviewnprep.io).

- Create your second CNAME record. In the Name field, enter "@", In the **Target field, enter your ReviewNPrep Sub-domain (e.g. yourschool.reviewnprep.io).

** ** **
Step#3 - Check if the CNAME record is successfully added.
1. Go to Google Admin Toolbox.
2. Insert your subdomain free of https:// or / at the end (e.g. www.yourschool.com).
3. If the CNAME record is correct, the ReviewNPrep school URL will appear in Target.
<="">
If the CNAME record has not been successfully added and you view a message such as "Record not found", please open a support ticket for us from your Instructor portal to get help.
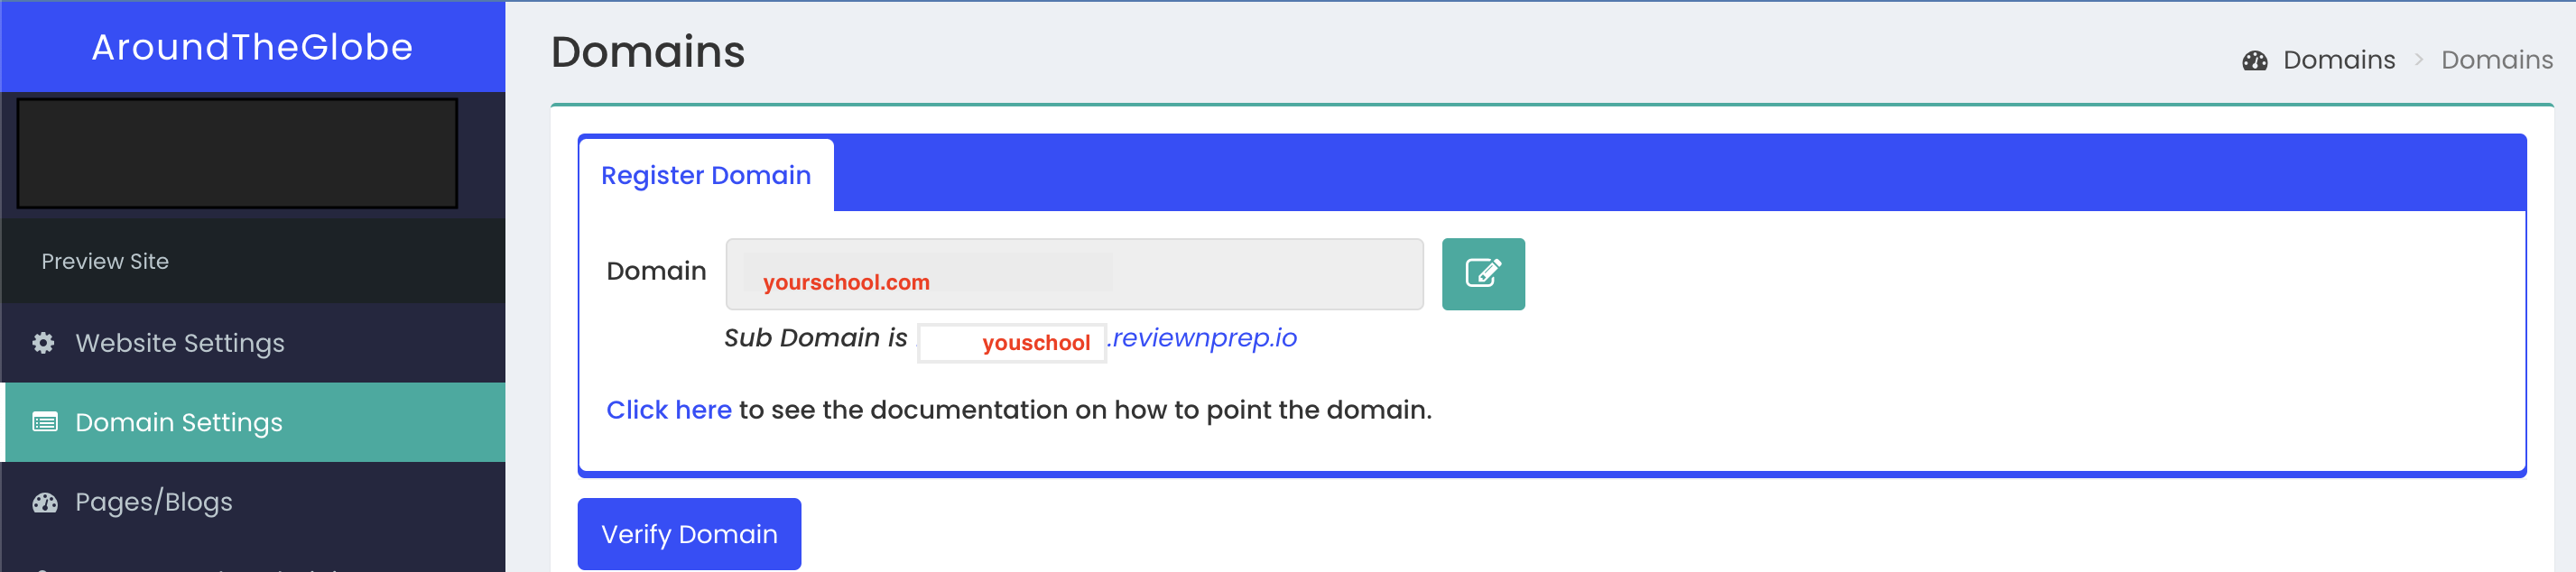
Step#4: Enter the domain name in your ReviewNPrep admin panel (Old) or ReviewNPrep.io screen (New)
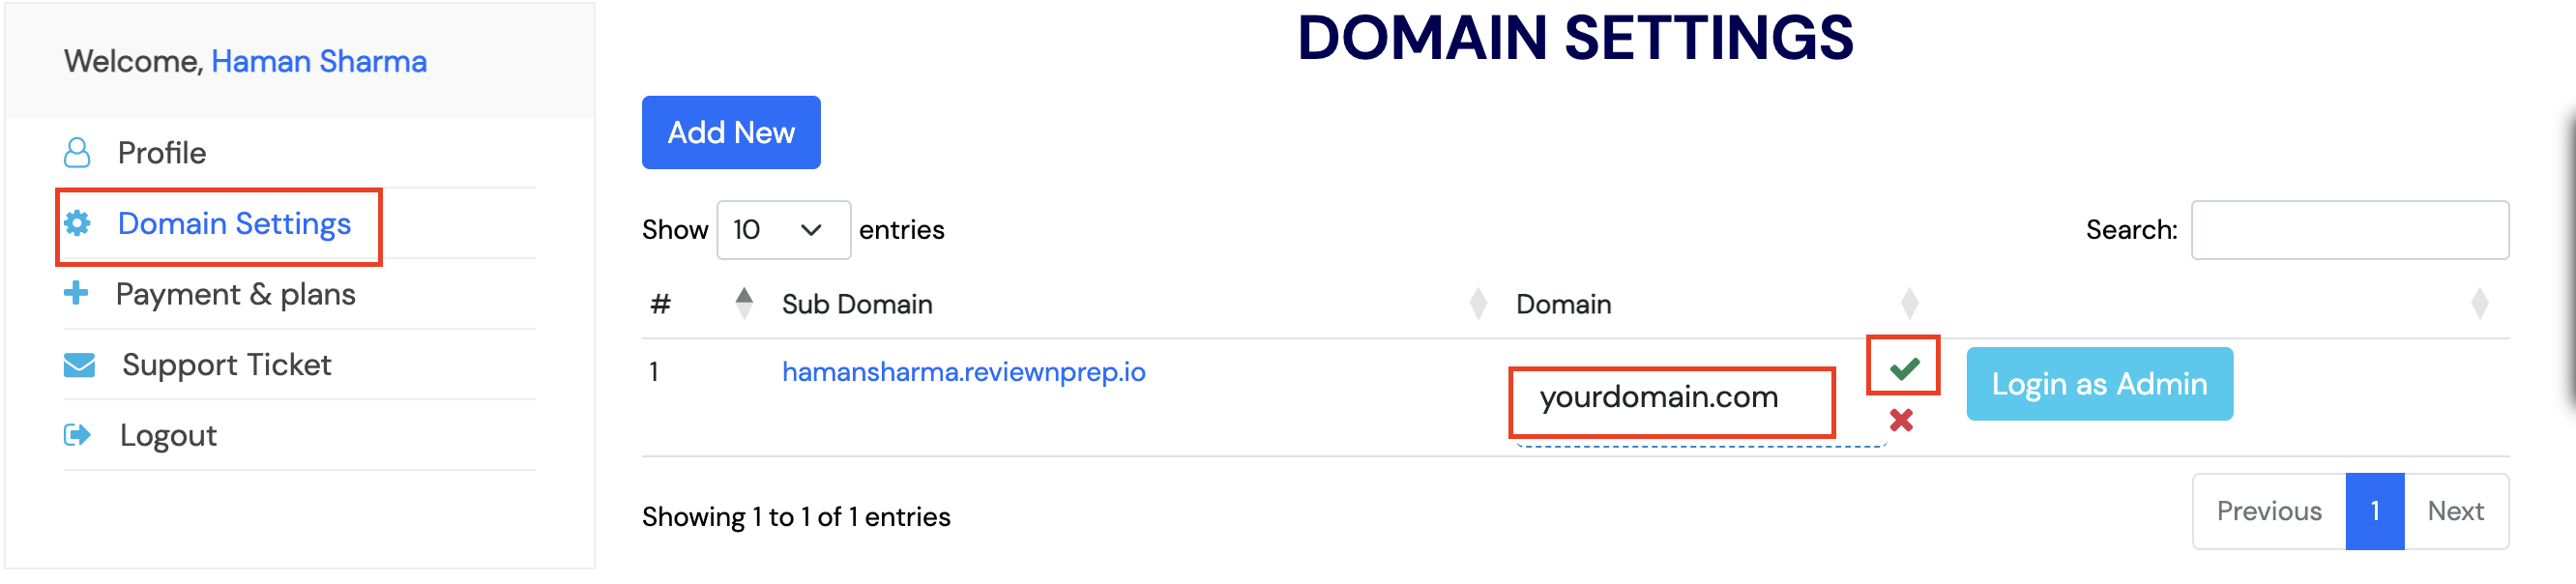
- Go to Domain settings when you are logged in your admin panel.
- Enter the domain name you wish you use. If the DNS settings are not right, domain will not be pointed. So, please make sure you have the settings right.
- Once you have the domain entered, click on Verify Domain.
- Once the domain is pointed, SSL will be automatically applied on your domain. This might take between 1hr - 24hours.
Old
New