CloudFlare
If you are using Cloudflare as your domain hosting provider, then you need to follow the next steps to connect your purchased domain with your ReviewNPrep school.
Create a CNAME Record in CloudFlare
1. Log in to your CloudFlare account and click** Websites**. If you already have the website added, it would show under this option. If not, follow the steps to add your website to be managed by Cloudflare.
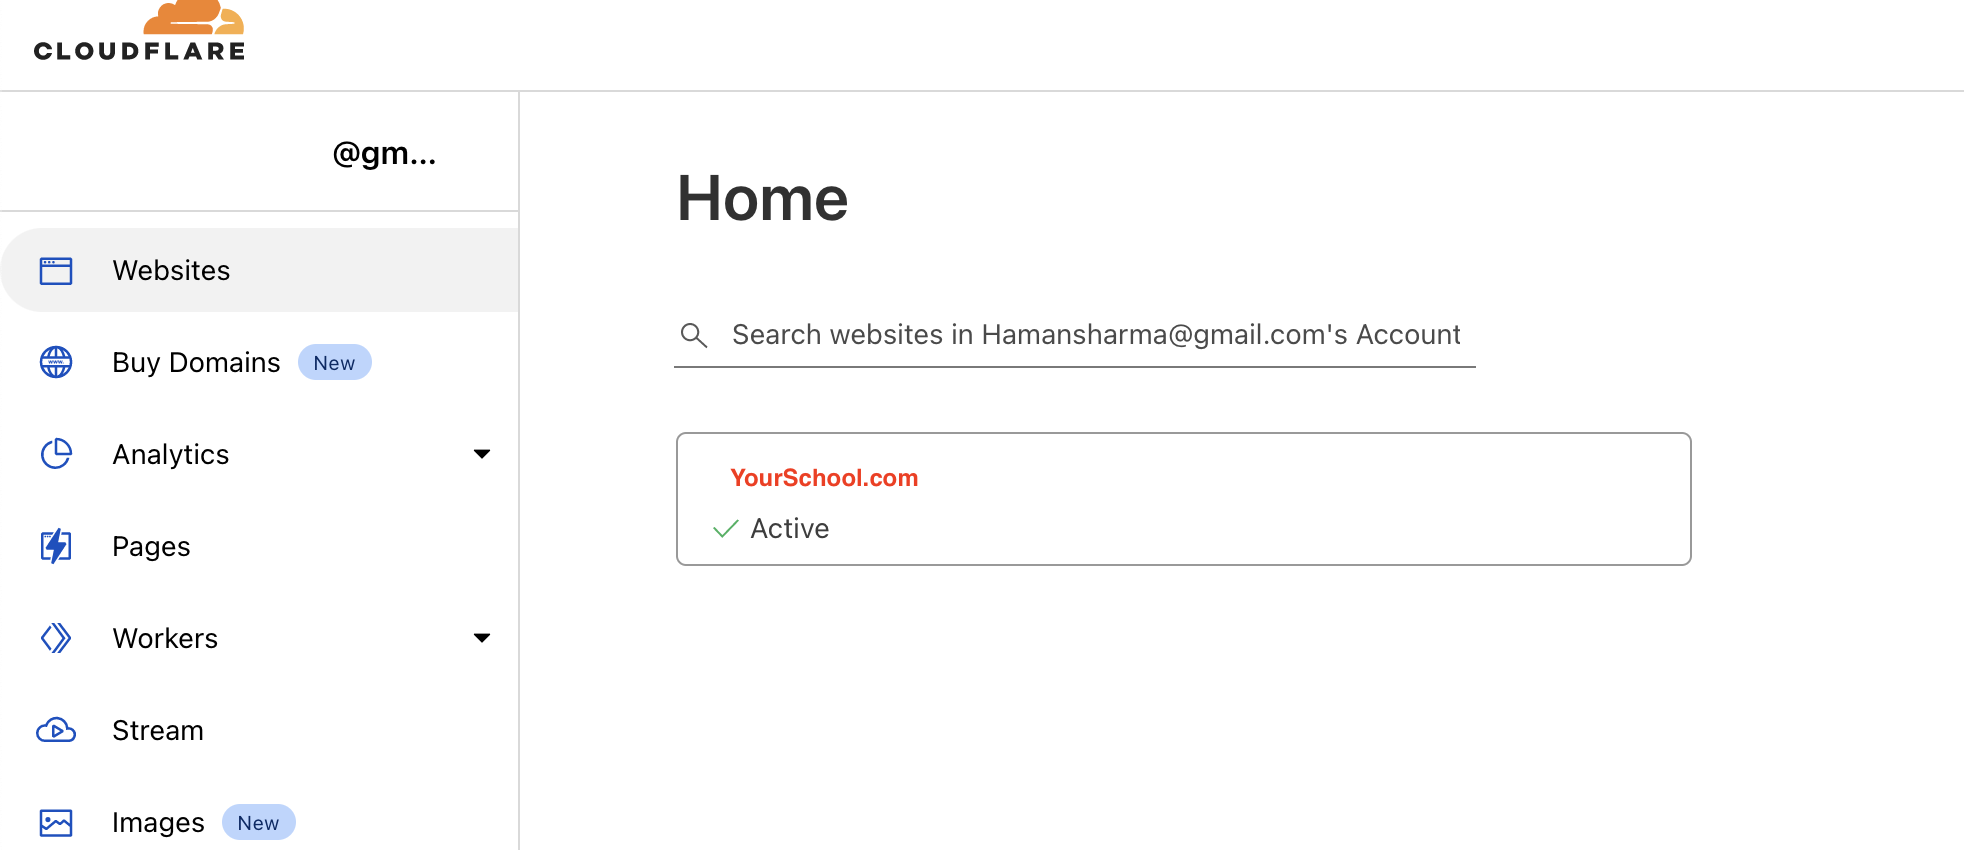
**2. **Select the domain that you would like to use for your school.
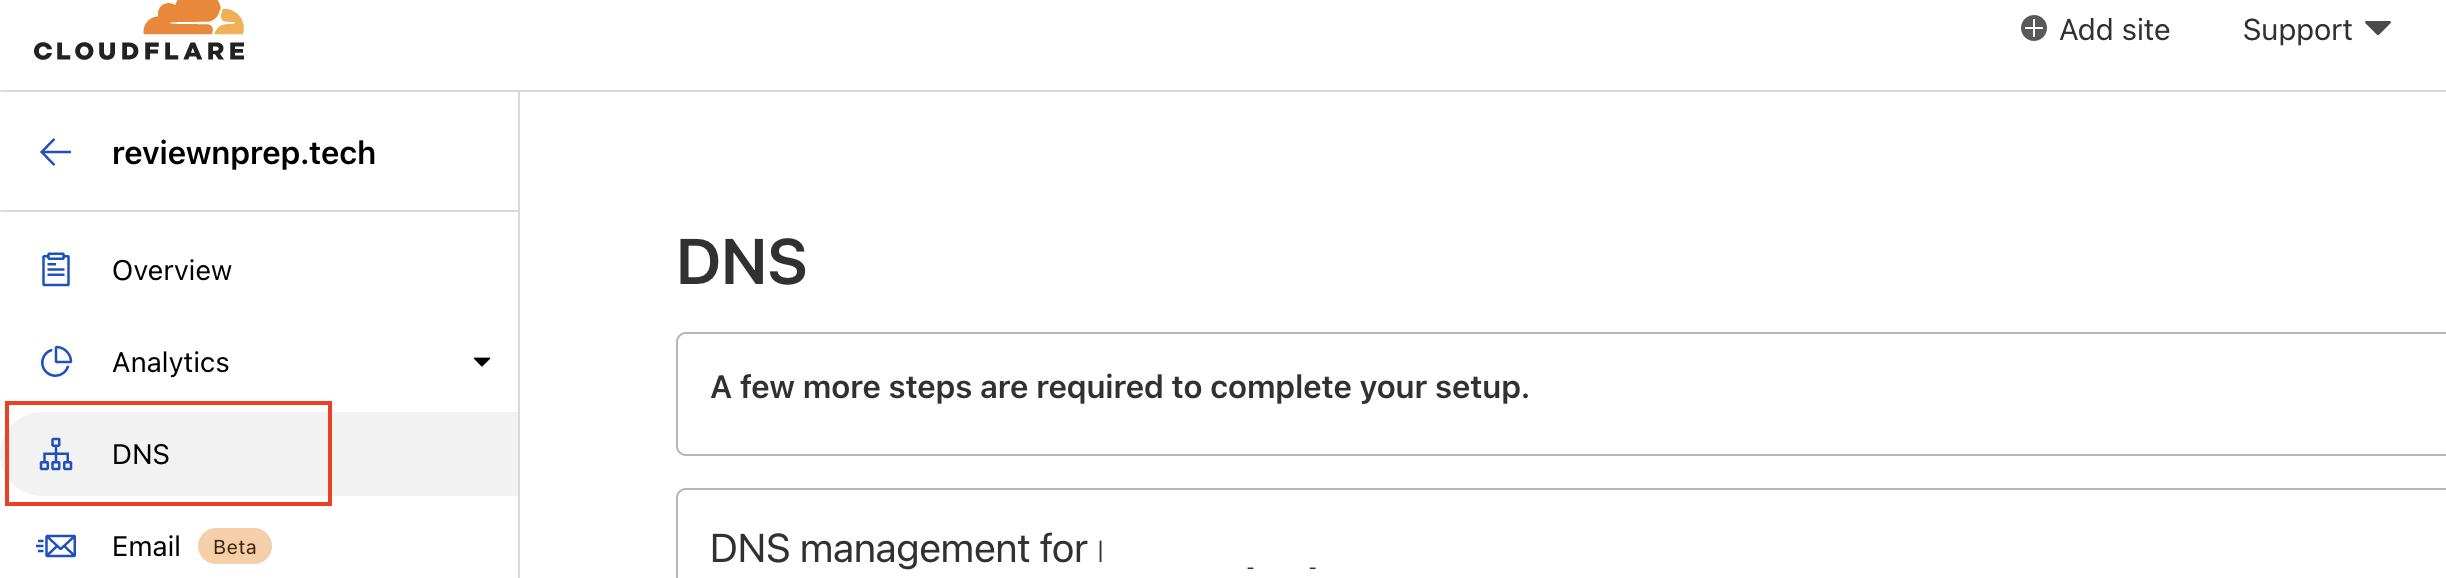
3. Click on DNS on your dashboard.
4. In the DNS Records section, in Type, select CNAME.

5. In Name, enter the subdomain you wish, e.g. **www **(or courses, or **academy **or anything similar). A subdomain precedes your main domain name. For example in www.yourschool.com, www is the subdomain.
6. In Target, enter your ReviewNPrep school URL (e.g. yourschool.reviewnprep.io).
7. In TTL, select Auto.
8. Click the Cloudflare cloud and arrow icon to deactivate that Cloudflare CDN to DNS only.
9. Hit Save.
**Notes: **
- Make sure to replace yourschool.reviewnprep.io with your ReviewNPrep school URL.
- Do not include the https:// before your ReviewNPrep URL or the / after.
- If you don't want to use a subdomain, but only the naked domain (e.g. without www), in the Name field you just need to insert your purchased domain name (for example, if you have purchased a domain called yourschool.com, you need to insert that in the Name field).
Check if the CNAME record is successfully added
**1. **Go to Google Admin Toolbox.
**2. **Insert your domain (without https:// or / at the end). For example, www.yourschool.com or yourschool.com.
3. If the CNAME record is correct, the ReviewNPrep URL will appear in Target.